mark kirchner
-
Posts
185 -
Joined
-
Last visited
-
Days Won
1
Content Type
Forums
Gallery
Store
Everything posted by mark kirchner
-

wireless Lectrosonics LT & SRC vs Wisycom MTP40S & MCR-42S
mark kirchner replied to PJ Rankin's topic in Equipment
The Lectrosonics LT and LR battery compartment "rubber spacers" problem has been solved. Mine were replaced by Lectrosonics (for free) as part of the warranty. -
Here is my solution for the DIY people.
-
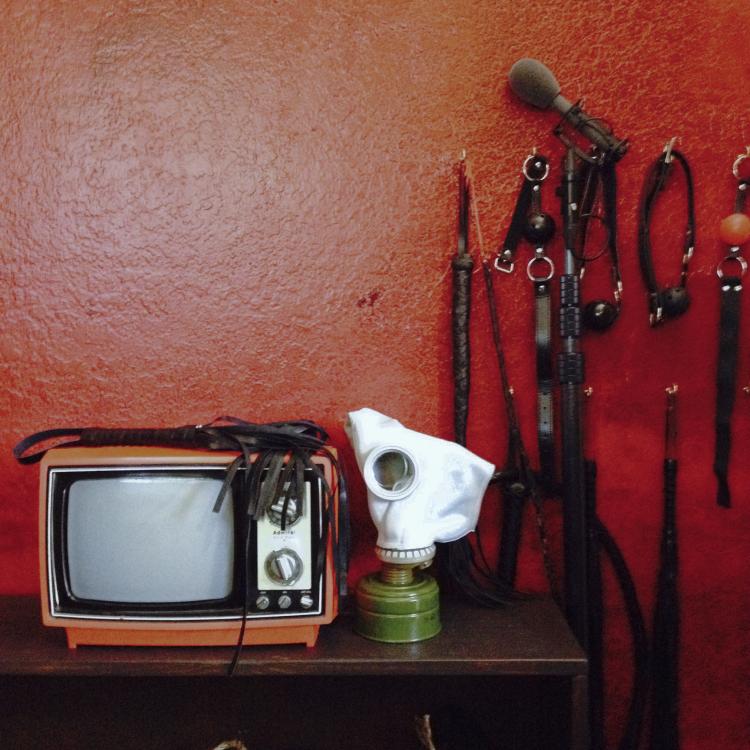
A short film about BDSM and Christianity.

-
Thanks Clay. Still working on testing the windscreen.
-
The foam windscreen needed to have an inside diameter of 30mm and 75 to 80mm deep to fit the plastic sleeve. The first windscreen I am experimenting with is the Beyerdynamic WS-58. It was designed for the Beyerdynamic M58 dynamic “reporter” style stick microphone. This stock windscreen has a large “ball” shaped cavity inside to match the shape of the microphone. I have found that when swinging it on a boom the sidewalls are too thin, so I have added some foam to the inside (side walls) of the WS-58 windscreen. I may fill the inside cavity with the “more open” foam, simmular to the interior foam of a Rycote Super-Softie. My goal is to make a hybrid windscreen that is as transparent as possible and will allow more movement on the boom than a stock foam windscreen, but smaller than a “Leo” or “Baby Ball” basket.
-
This is my first prototype of a foam “hollow in the middle” windscreen. I like the Schoeps B5d “hollow” windscreen, but wanted a simmular windscreen for the MKH50/40. With the addition of the windscreen to my kit I am no longer limited to my Cinela Leonard or just the standard foam windscreen. One of the most difficult parts to source was a plastic sleeve that would not scratch the microphone's finish. Now for some testing.

-
Have you tested the 48v output with a multimeter? Tested mine the other day and found them at 47.5v which is within specs. It sounds like your 442 needs service at Sound Devices. My 442 was made in 2002 and when I sent it in for service, many parts (while still working), were replaced.
-
Could OJ be missing a pair of gloves?
-
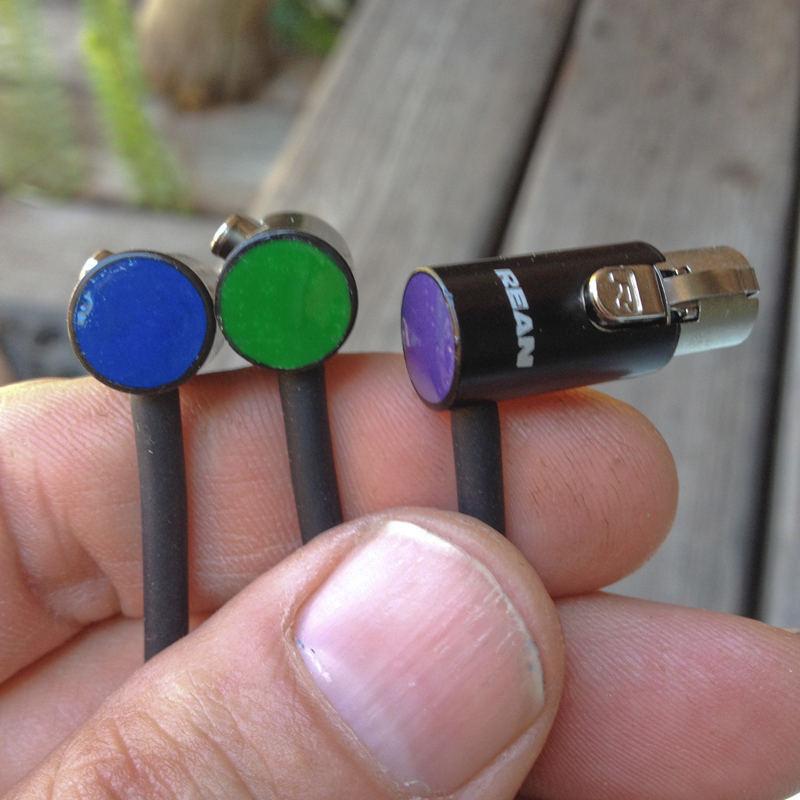
I use a small piece of foam to cover the area where the latch is. My connectors cannot be repaired because the connector shell is full of epoxy. I use 5 minute epoxy for the first layer which will cover the foam, but will not reach the top of the connector shell. Then I do the colored epoxy. I think slow drying epoxy would be better for this step because I get fine bubbles in the epoxy as it drys quickly. I prefer to make up backup cable sets instead of making a field repairs. If you get adventurous you can "swirl-in" a second color.
-
Thanks Rachel. The green and blue are stock "Testors" model paints. The purple is made by mixing the blue with red and then white. Then a couple of drops are mixed with 2-part epoxy.
-
I just finished my first TA3 right angle connectors with colored epoxy.

-
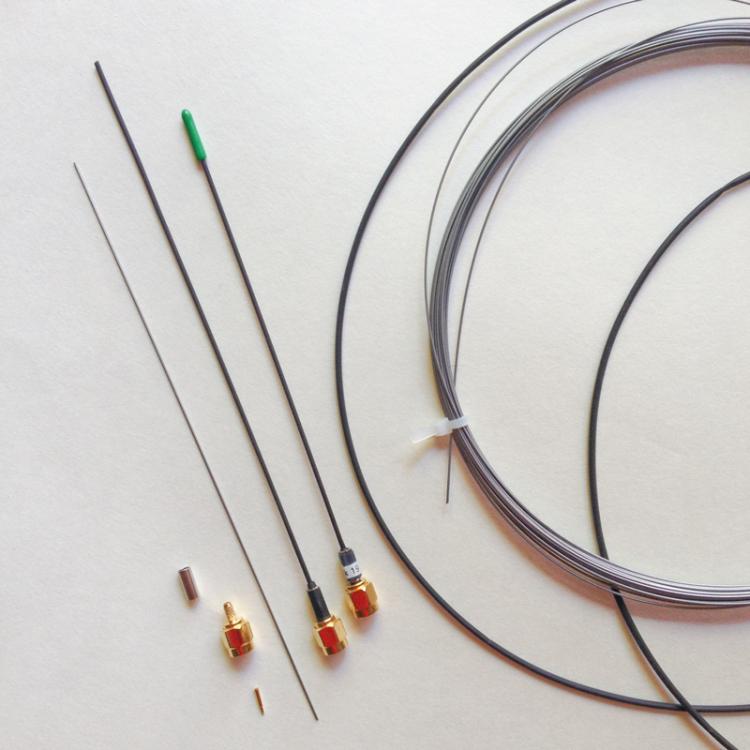
Hello Jack, This is an Ebay link for the super-elastic wire that Dave Williams wrote about. It is slightly thinner than the stock that Remote Audio uses. If you want want me to put a small sample in the mail to you just PM me. http://www.ebay.com.au/itm/120476274177?_trksid=p2057872.m2749.l2649&ssPageName=STRK%3AMEBIDX%3AIT
-
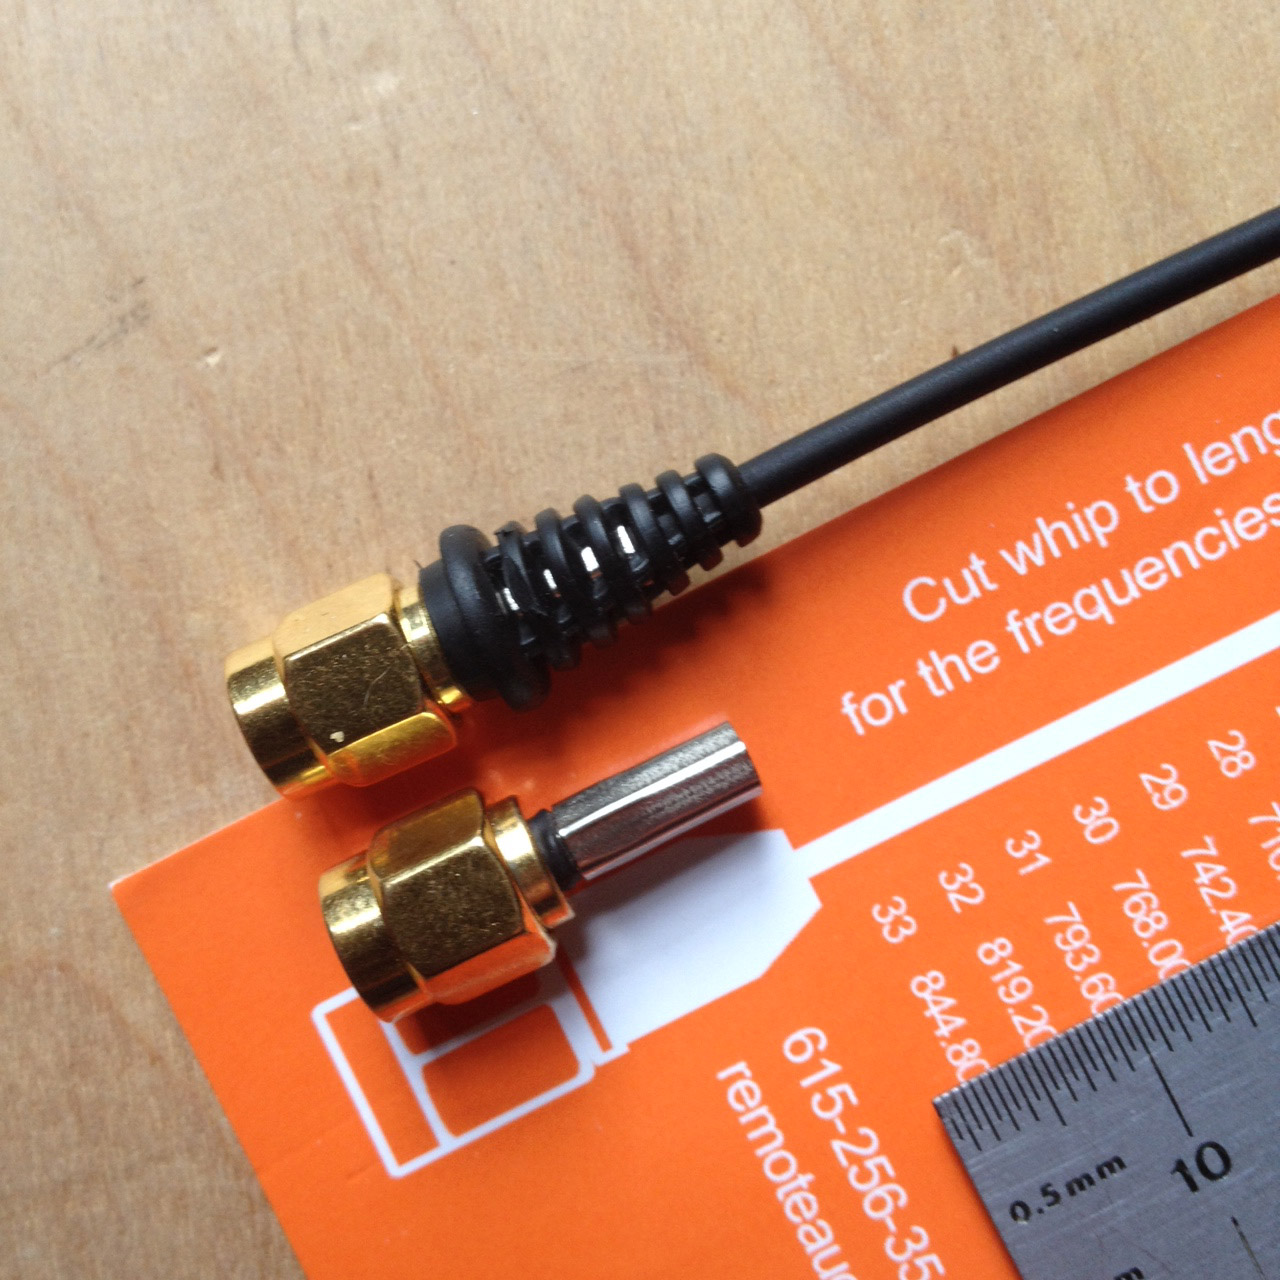
Just made a few whip antennas (block 19) using the super-elastic wire the Dave Williams recommended. The heat shrink tubing that I used is the 3/64th diameter size. I also filed small notches in the wire to help with the mechanical connection at the solder point.
-
If you look closely at the photograph of the Ambient mounting device. The XLR mounting hole has been reduced in thickness. The new style neutrik XLRs fit perfectly, but only in one direction.
-
http://www.trewaudio.com/product/ambient-qat-eco-top-tip-eco/ Closer to home

-
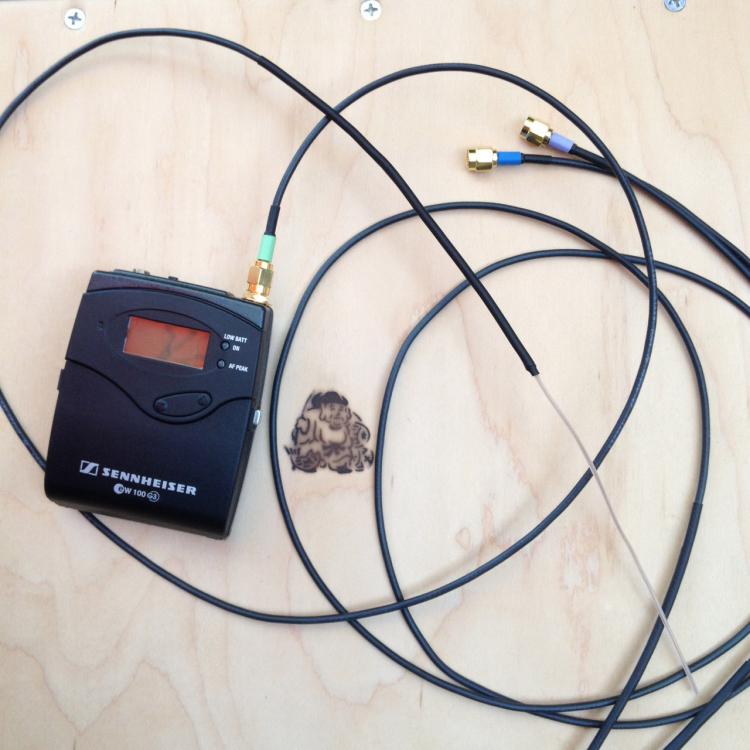
My photographs show the finished antenna, with length guide and the original Sennheiser rubber boot. Note the end of the crimp sleeve is where I started the measurement from. I first cut the boot were it meets the rectangular rubber block, then slide the antenna boot off the antenna for use on the new SMA antenna. Cut into the rectangular rubber block and you will find the bronze connector (that is also connected to the tab that your arrow points too). I hope this helps.


-
It is important that the bronze connection "connector" is carefully removed from the Sennheiser G3 antenna. The connection is very robust and I found the only way of removing the antenna wire intact, was by grinding/filing the connector down. Then the complete antenna "wire rope" can be utilized in the new SMA connector/antenna. They work fine for close range TX antennas or as backups.
-
Here is the Lectrosonics Coax Dipole video and a few of my dipole antennas.
-
Hey ALex, I think you will find that your measurment is correct and that you will get a better range with the longer antenna over the original Sennheiser antenna. I used the guide that Lectrosonics published using the" middle block" for the length. If you trim the antenna boot of the original Sennheiser antenna and grind off the bronze connecctor off of the antenna, you can make a backup antenna. All you will need is a SMA male connector that is made for RG174 Coax, solder and heat shrink tubing. Also, slide the old Sennheiser boot over the crimped sleeve of the SMA connector to make it look better. Good Luck.
-
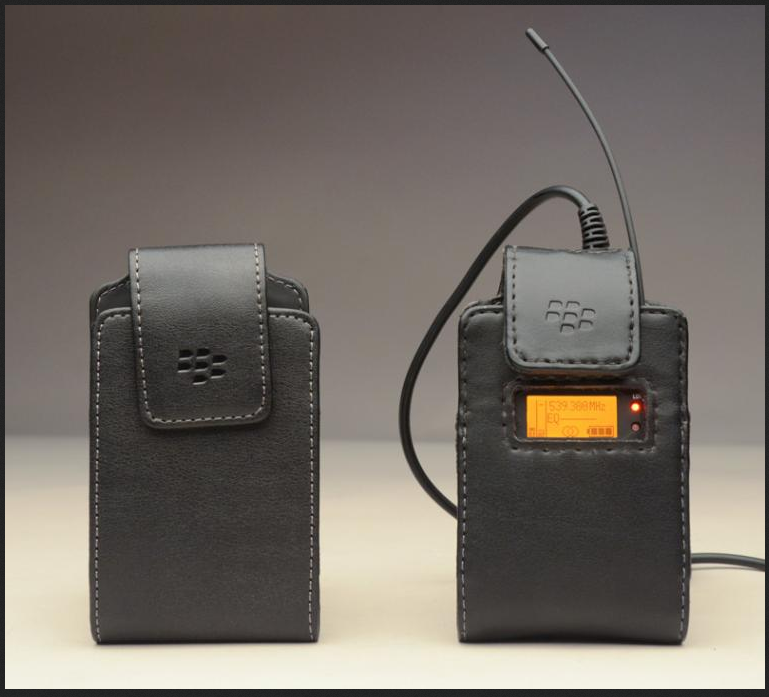
LT Transmitter Battery Life This information is listed in the manual, but does not tell what the power setting is (50 or 100W). Duracell Quantum: 4.75 hours Eneloop 2400 mAH NiMH: 5.5 hours Lectrosonics LT and LR Upgrade Information Lectrosonics is upgrading the battery spring and replacing the battery doors as part of the warranty.
-
In the past there was a 3-step protocol for "new members." 1. Hello and welcome. 2. This topic has been discussed many times before on this forum. Do a goggle search with the topic, followed by jwsound. 3 Then a reply (sometimes tough, sarcastic, etc... Do we need the Senator back?
-
Excellent idea! Thanks Derek.
-
James, Keep in mind Sennheiser does not have parts or repair 815T microphones anymore. I would check to see if repair parts are still in stock for the 816T. Sorry, I do not know what the "F" stands for. Good Luck, mark
-
New Lectrosonics SM Remote App, "LectroRM"
mark kirchner replied to Solid Goldberger's topic in Equipment
I figured it out. It took a moment until "Brando W" words sunk in. I just needed to use the A1-20, A1-19 or A1-470 setting on the app. All good now, my problem was I was still thinking in blocks. -
New Lectrosonics SM Remote App, "LectroRM"
mark kirchner replied to Solid Goldberger's topic in Equipment
Having trouble using the LectroRM app with my Lectrosonics LT (A1) transmitters. The sleep, audio gain and lock modes respond perfectly to the dweedle tone, but the frequency mode is not working properly in blocks 19 & 20. In block 470 all frequency functions work great. When I select a new frequency, as example, block 20 / 0C-513.200 (see photo) the transmitter will select the block 470. Transmitter S# 674 firmware 1.06 Transmitter S# 860 firmware 1.07 Both purchased December 2015 and New Endian LectroRM app (ISO) purchased in January of 2016. Tram TR-50 Microphone Any ideas on how to correct the problem would be well appreciated. Thanks, Mark